Looking for help?
Find answers to your questions
How to set up Yeewise PTZ WiFi camera system?
Table of Contents
How to Set up Yeewise Wireless PTZ Security Camera System?
1. Connecting your system
a. Take out all components from the package box.
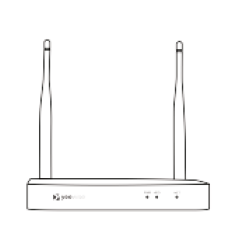
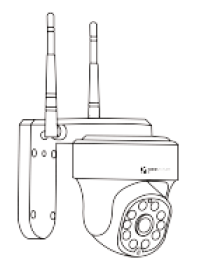
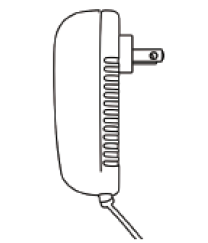

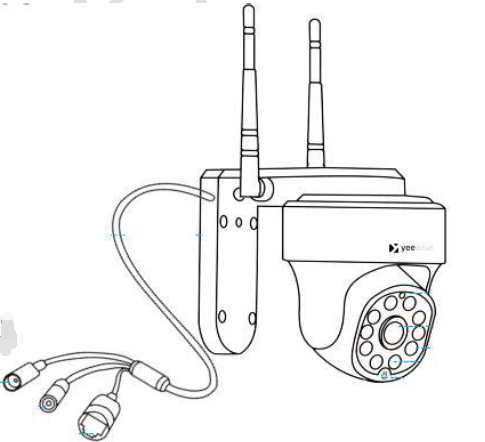
1pcs 4K Wi-Fi NVR, 4pcs Rotating WiFi Camera, 1pcs 12V 2A Power Adapter, 4pcs 12V 1A Power Adapter, 1pcs Network Cable, 1pcs HDMI Cable, 1pcs USB Mouse, Screw Kits, Quick User Guide
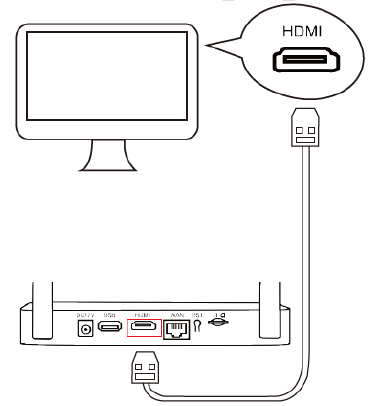
b. Plug one end of the included HDMI cable into the HDMI port on the back of the NVR. Plug the other end of the HDMI cable into the back of your TV or monitor.

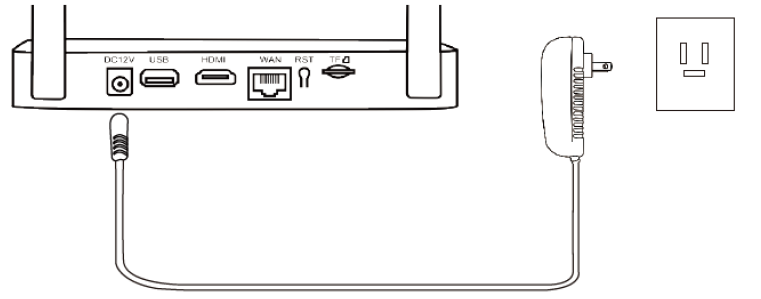
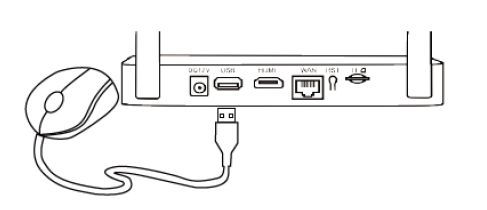
c. Plug the NVR to power using included 12V 2A power adapter. Connect the mouse to monitor's USB port.
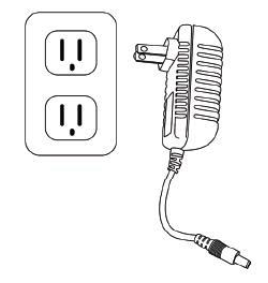
d. Plug the cameras to power using included 12V 1A power adapters.
e. You should see NVR initialize. After initialization, you will be prompted to use the Startup Wizard.
Follow the Startup Wizard to complete the basic settings.
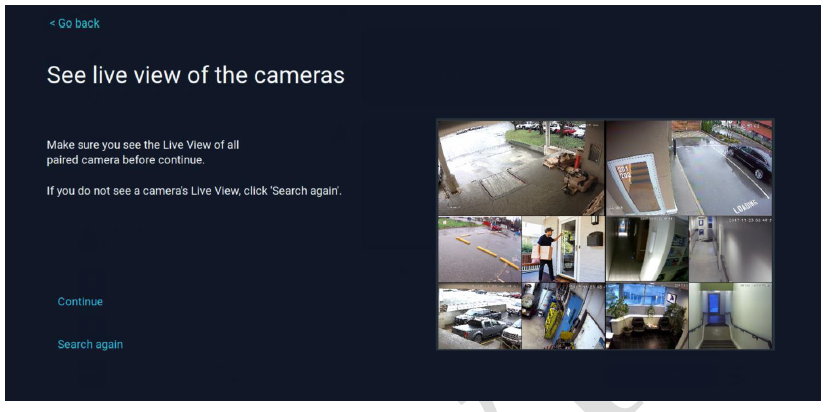
f. You'll then see cameras dispaly video on the monitor.
 Introduction of icons:
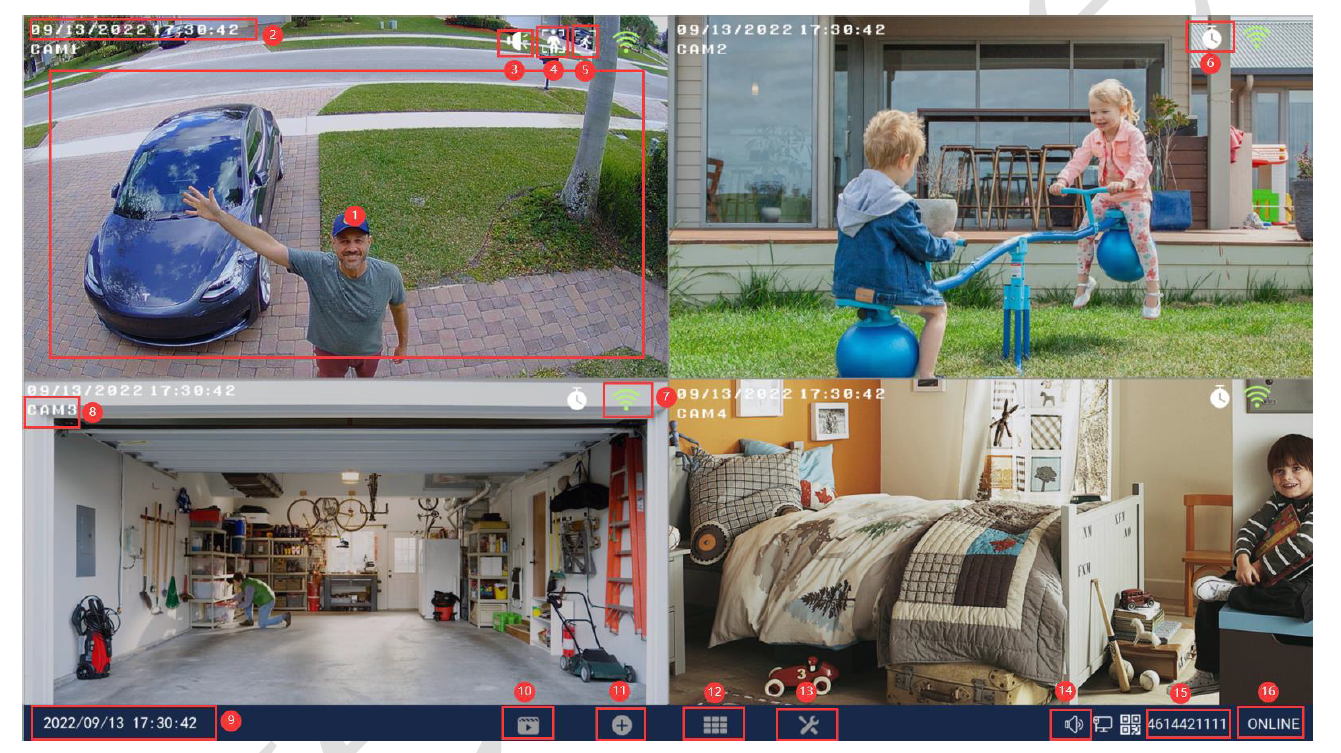
1. Live Video: Live video of the camera.
2. Camera Date and Time: Displays the date and time of your camera.
3. Audio: Turn on/off audio of the camera.
4. Humanoid Detection:Indicates humanoid detection is enabled on that camera.
5. Event Record Icon: Indicates motion detection recording on that camera.
6. Continuous Record Icon: Indicates 24/7 continuous recording on that camera.
7. Signal Strength: Shows the signal strength of the camera.
8. Camera Name OSD: Shows the camera name.
9. NVR Date and Time: NVR Date and Time: Shows the date and time of your NVR.
10. Playback: Opens the video playback menu. pens the video playback menu.
11. Add Camera: Add Camera: Add a new camera to NVR. Add a new camera to NVR.
12. Multi--Camera View: Select a multi-screen viewing option, where you’ll be able to see multiple video feeds at once.
13. System Setting: Opens the System Setting menu.
14. Audio: Controls live audio volume.
15. Cloud ID: Shows Cloud ID of your NVR. Cloud ID is used for remote access. Add your NVR to any smart devices by using this Cloud ID will allow you to remote access your cameras.
16. Network Status: Shows network status of this NVR.
2. Connect your system to the internet
The system works without internet, you can live view, record, playback and backup videos on the mointor without connecting your system to the internet.
But if you want to remote access your cameras from smart devices, you need to connect the NVR/monitor to the internet.
There are two ways to connect the NVR/monitor to the internet.
2.1. Hardwire NVR to router with network cable:
Each package comes with a network cable, please connect one end of the network cable to your NVR's Ethernet port, and the other end to your router's LAN port. Your NVR is then connected to the internet and will be ONLINE for remote access soon.
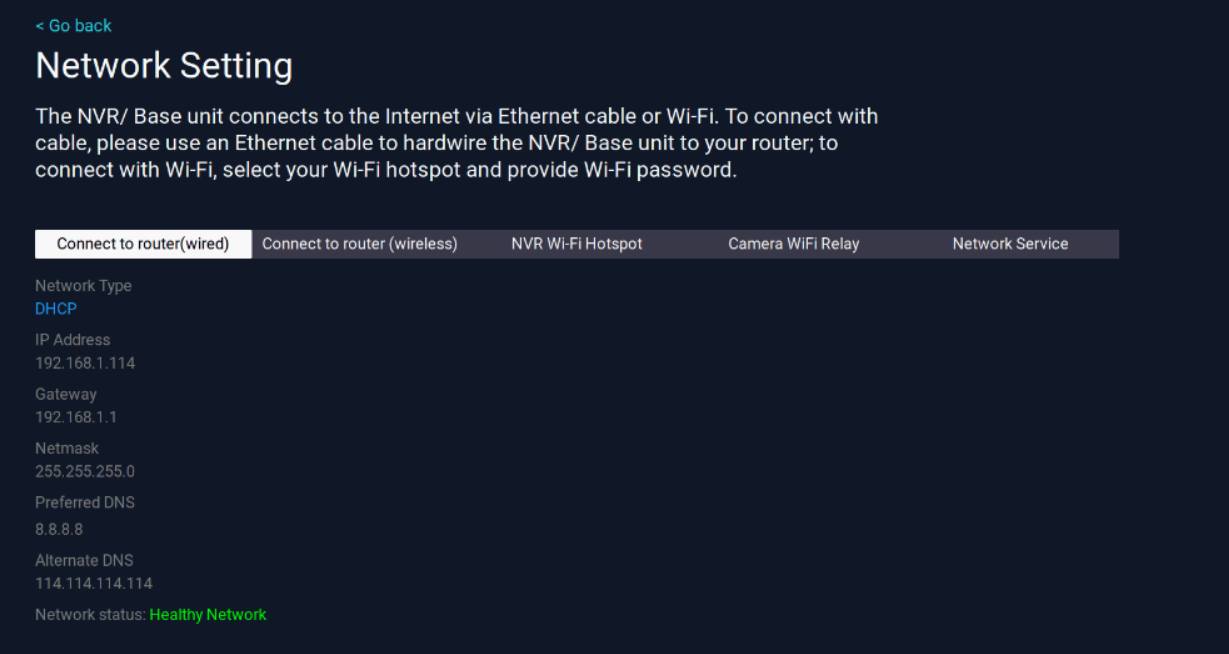
Your can check your NVR's network status here: System setting - Network setting - Connect to router (wired)
Healthy Network means that your NVR is connected to the internet successfully.
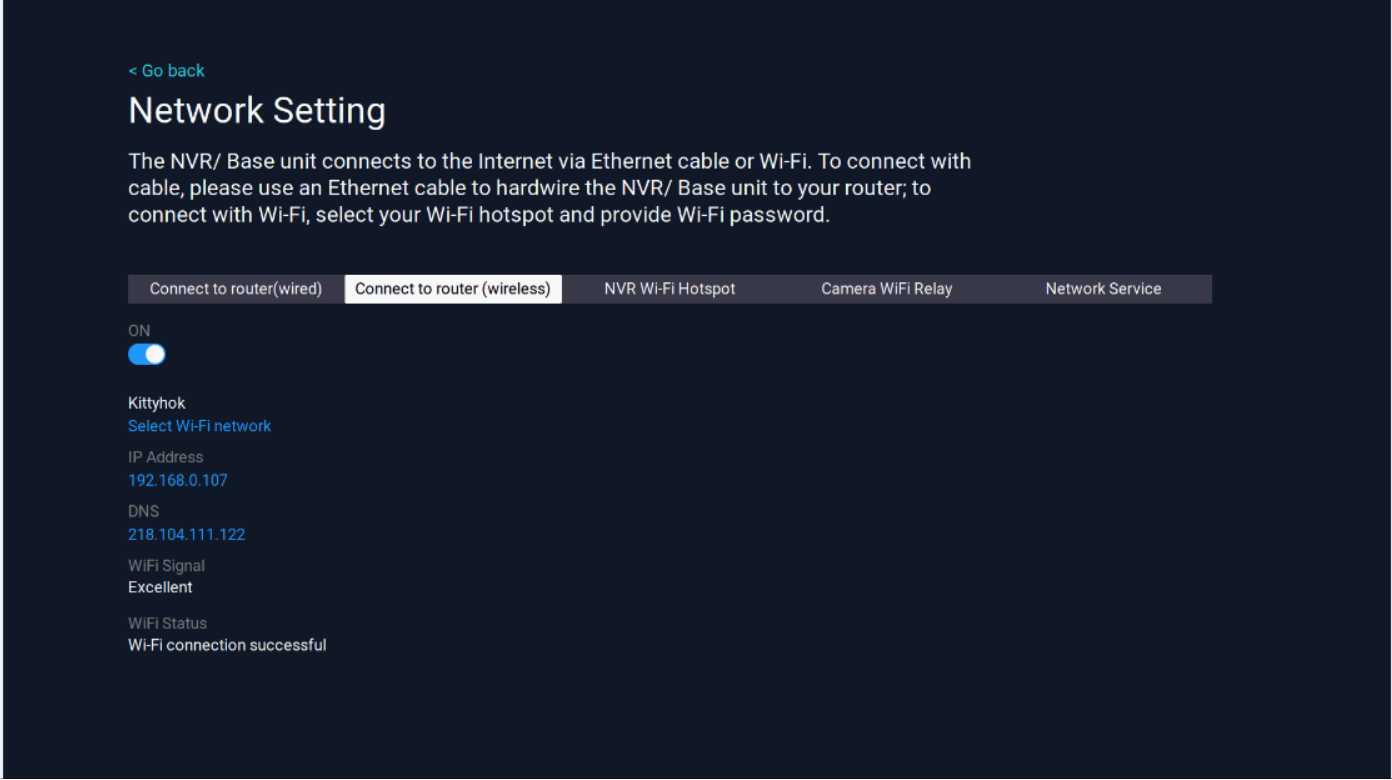
2.2. Connect NVR to your WiFi:
Yeewise NVR also supports connecting to the internet via Wi-Fi. This gives you flexibility of where to place or hide the NVR.
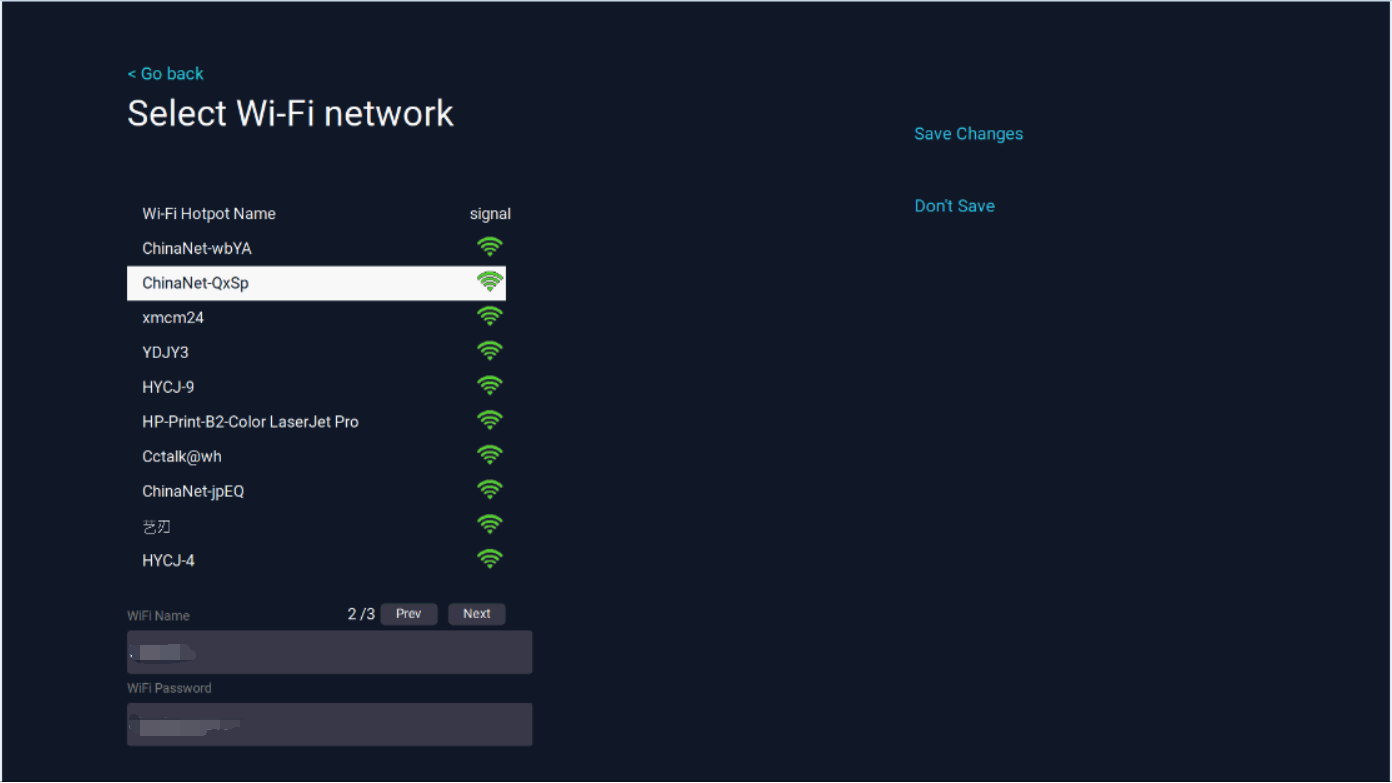
Right click your mouse to pop out NVR main menu, then click System setting - Network setting - Connect to router (wireless), Click Select Wi-Fi network, choose your WiFi network and enter the WiFi password, click Save Changes. It will show Wi-Fi connection successful if your NVR is connected to WiFi successfully.
PS: Our NVR only supports 2.4G WiFi, so please choose 2.4G WiFi when you select your WiFi network.
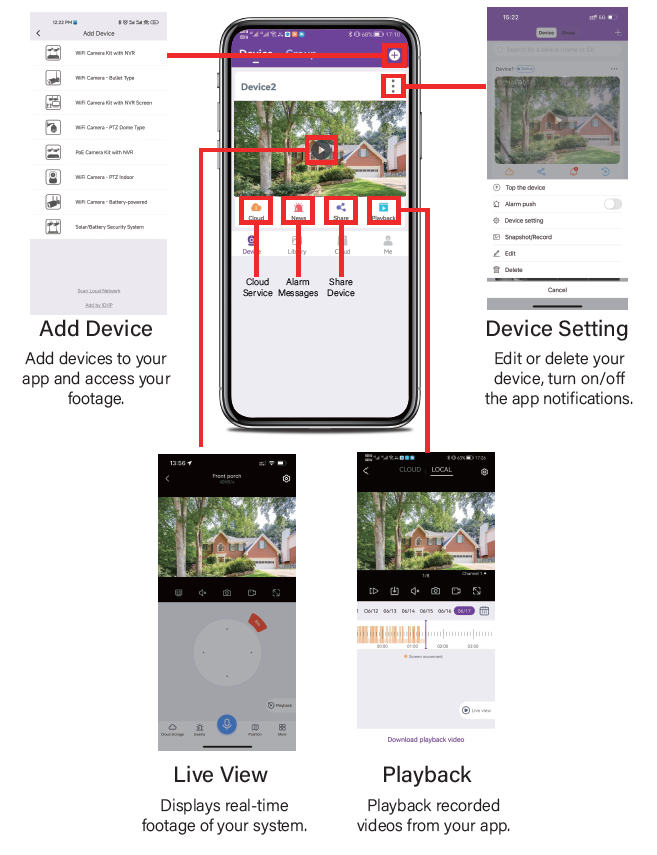
3. View your cameras on phone
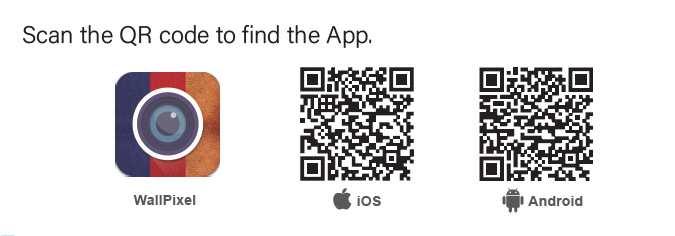
3.1. Download and install WallPixel App
Download the free WallPixel mobile app from App Store or Google Play Store and install the application on your phone or tablet.
3.2. Creating an Account
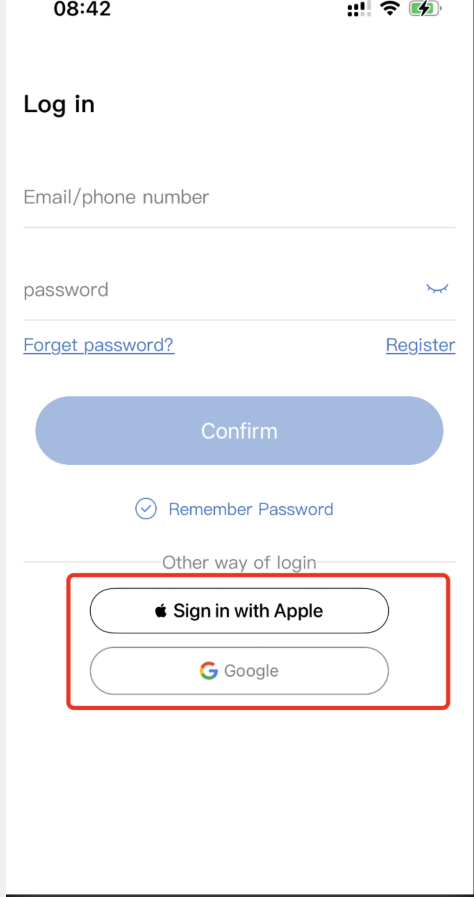
Tap the app, click "Register", enter the required information to create an app user account.
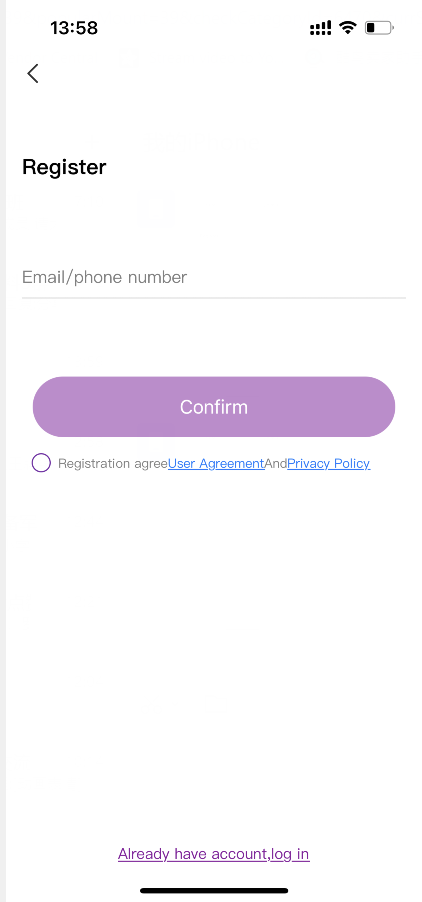
You can also login directly with your Apple account or Google account.
3.3. Adding Your Device(System) to the App
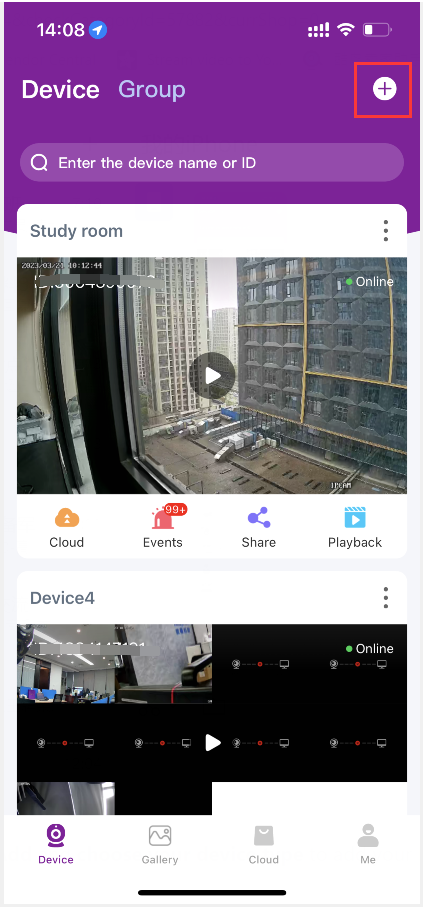
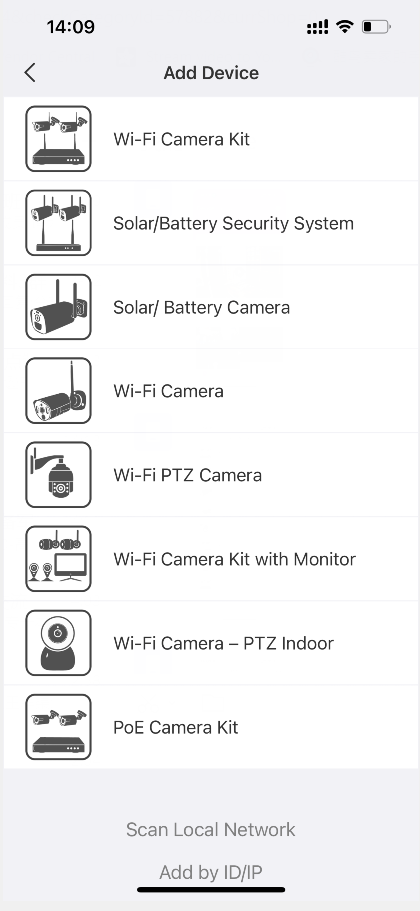
Tap “+” on top right corner, then tap Add and choose your device type to add your NVR device to the app.
Device Information:
Cloud ID: This is your system's Device ID, which can be found at the right bottom of your monitor. It is 9 digits. (NVR Device ID can also be found at NVR's System setting - Network setting)
Username: Your NVR login username, default is admin.
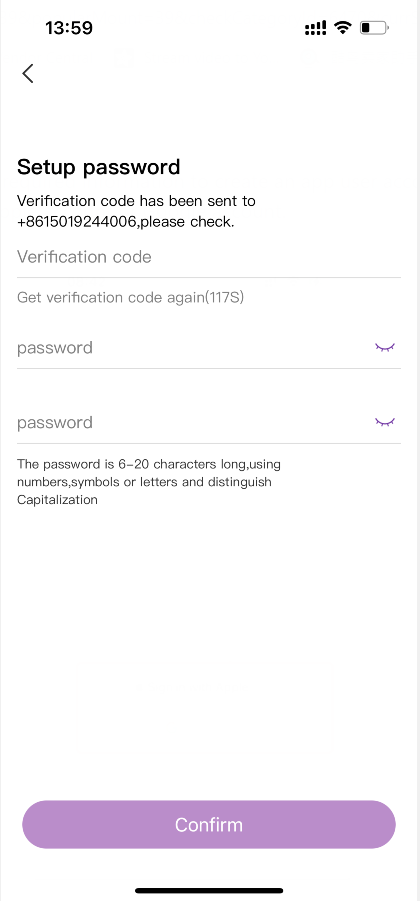
Password: Your NVR login password, default is empty, means no password, leave it blank. If you’ve set a new password for your NVR, make sure to type in the new password here.
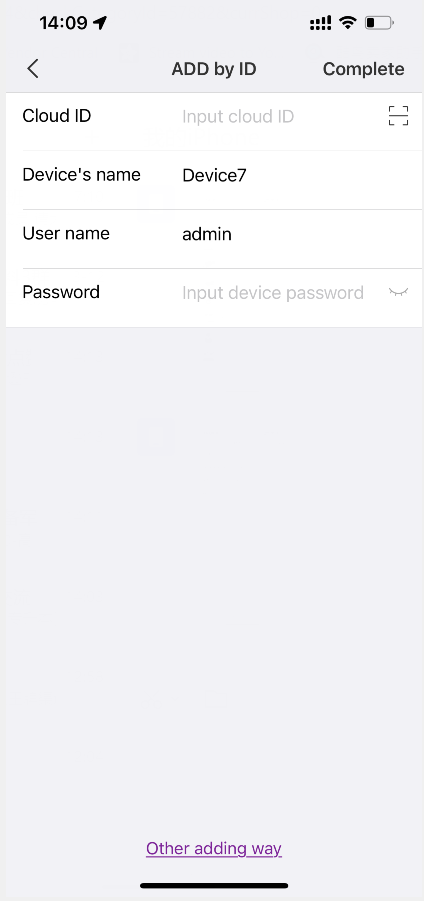
When you complete entering device information, click Complete on top right. Your device is now added to the app and you can live view your cameras.